
How To Clean: Olympic Weightlifting Technique (Beginners To Advanced)
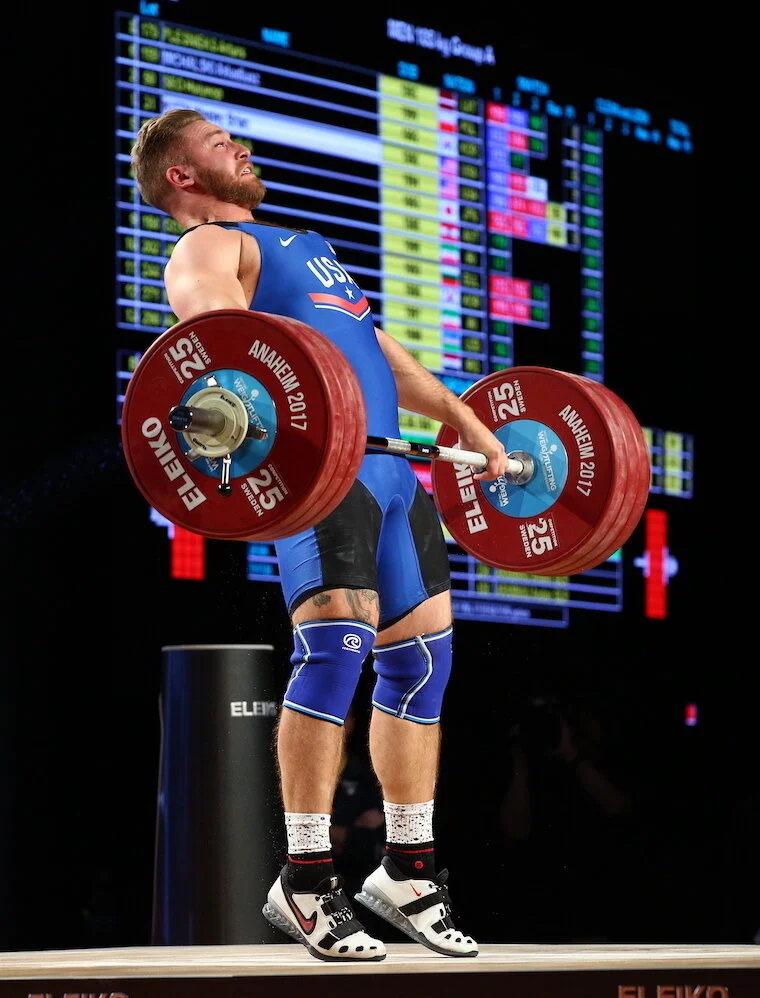
29 Minute VideoIn this video we break down our teaching progressions for how to Clean, the first part of the Clean & Jerk with demonstrations by American Record Holder Wes Kitts. Here are a couple of key points to get started.
Assigning Grip Width
Addressing the barbell and assigning your grip width is the first step you need to take when learning how to Clean. Our goal is to produce a stable front rack position and that position is formed based on your grip width. For a detailed explanation on how to assign your grip width, continue reading here.
How To Assign Tension
Many of the errors athletes make are a result of improperly assigned tension. In the Clean, our arms are simply conduits for force meaning that they are to remain passive and long throughout your Clean pull. Instead, our goal is to assign tension through our lat muscles.
The easiest way to do this is to pull your shoulders down and back towards your glutes. The hook grip is a key component to assigning tension properly. By using a hook grip, you’re able to maintain a strong grip on the barbell without straining or engaging the arms in the lift itself.
After assigning tension through the lats, we need to assign tension through our core using a 360 degree brace, engaging your transverse abddonminus and lumbar muscles creating the sensation of using a weight belt around your torso.
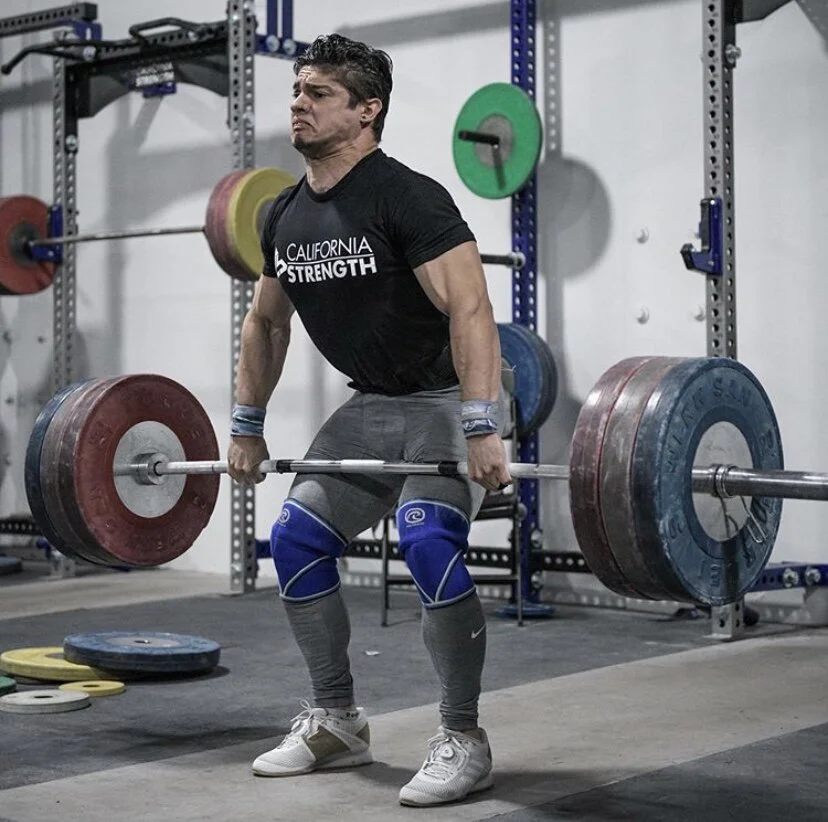
Setting Up The Power Position
Start by setting up a “toes forward” pulling stance with your feet just outside of shoulder width. As you descend into your power position by bending your knees, make sure that your shoulders are setup directly on top of the barbell. Be mindful of where pressure resides on your foot. In your power position, pressure should stay directly over the middle of your foot.
Descend until the barbell rests at the middle of your thigh. To learn more about bar contact and the difference between the Snatch and Clean, check out this article.
Check to make sure that your head and spine are neutral, with your eyes looking straight out in front of you.
Extension Sequence
Once in your Power Position, complete extension by pushing through the middle of your foot to stand up. Your extension doesn’t have to be more complicated than that. We find so frequently that athletes overthink extension. Remember, all force starts proximally and ends distally. Your hips are the engine for force.
Arm Mechanics
After finishing extension, complete your pull by pulling your elbows up to 90 degrees (keeping the bar as close to your body as possible). Once your elbows reach 90 degrees, externally rotate at the shoulder, driving your elbows through to create a stable front rack position.
Video Timestamps
0:30 - Non Ballistic High Hang Muscle Clean
1:15 - Assigning Grip Width
2:20 - Setting Up The Power Position
4:25 - Assigning Tension
5:50 - Extension Sequence
12:10 - Non Ballistic High Hang Clean
14:22 - Non Ballistic Top Down Stage Clean
20:58 - Top Down Stage Clean
24:09 - Top Down Clean
You Deserve To Be On The Podium
Hey, welcome to California Strength. We help weightlifters like you accomplish their training & competition goals. Join our online team and get results for less than $1 / day.

About Dave Spitz
He is the founder and head coach of California Strength. Dave holds recognition as a USAW Senior International Coach and is a Certified Strength & Conditioning Specialist. He’s spent the past 15+ years coaching athletes in Olympic weightlifting, CrossFit and the NFL.
I’m Interested In…
Tired Of Writing Your Own Weightlifting Programs?
Join our online team and get the help you need for less than $1 / day.